
![]()
To say that Natural Selection 2 has a steep learning curve is a gross understatement. In this world of hand-holding video games that will nudge you in the right direction if you even think about venturing off path, Natural Selection 2 throws you into the deep end of a diving pool with a cement block tied to your shoes.
Today I’d like to jump right in to one of the most overwhelming features of the game: commanding, and more specifically, a feature that is new even to Natural Selection veterans: Alien commanding. A role previously occupied by gorges, Unknown Worlds have decided to even the playing field this time around and allow Alien players to experience the RTS/FPS experience of a live commander that was previously exclusive to marines.
As a new player, the Aliens themselves, with the melee focused hit-and-run tactics, are daunting enough, let alone the concept of commanding the damn things. This guide is by no means an exhaustive list of legitimate strategies, but rather, a guide designed for players eager to try out the system. Simply put, it’ll probably stop your team from raging at you. Probably.
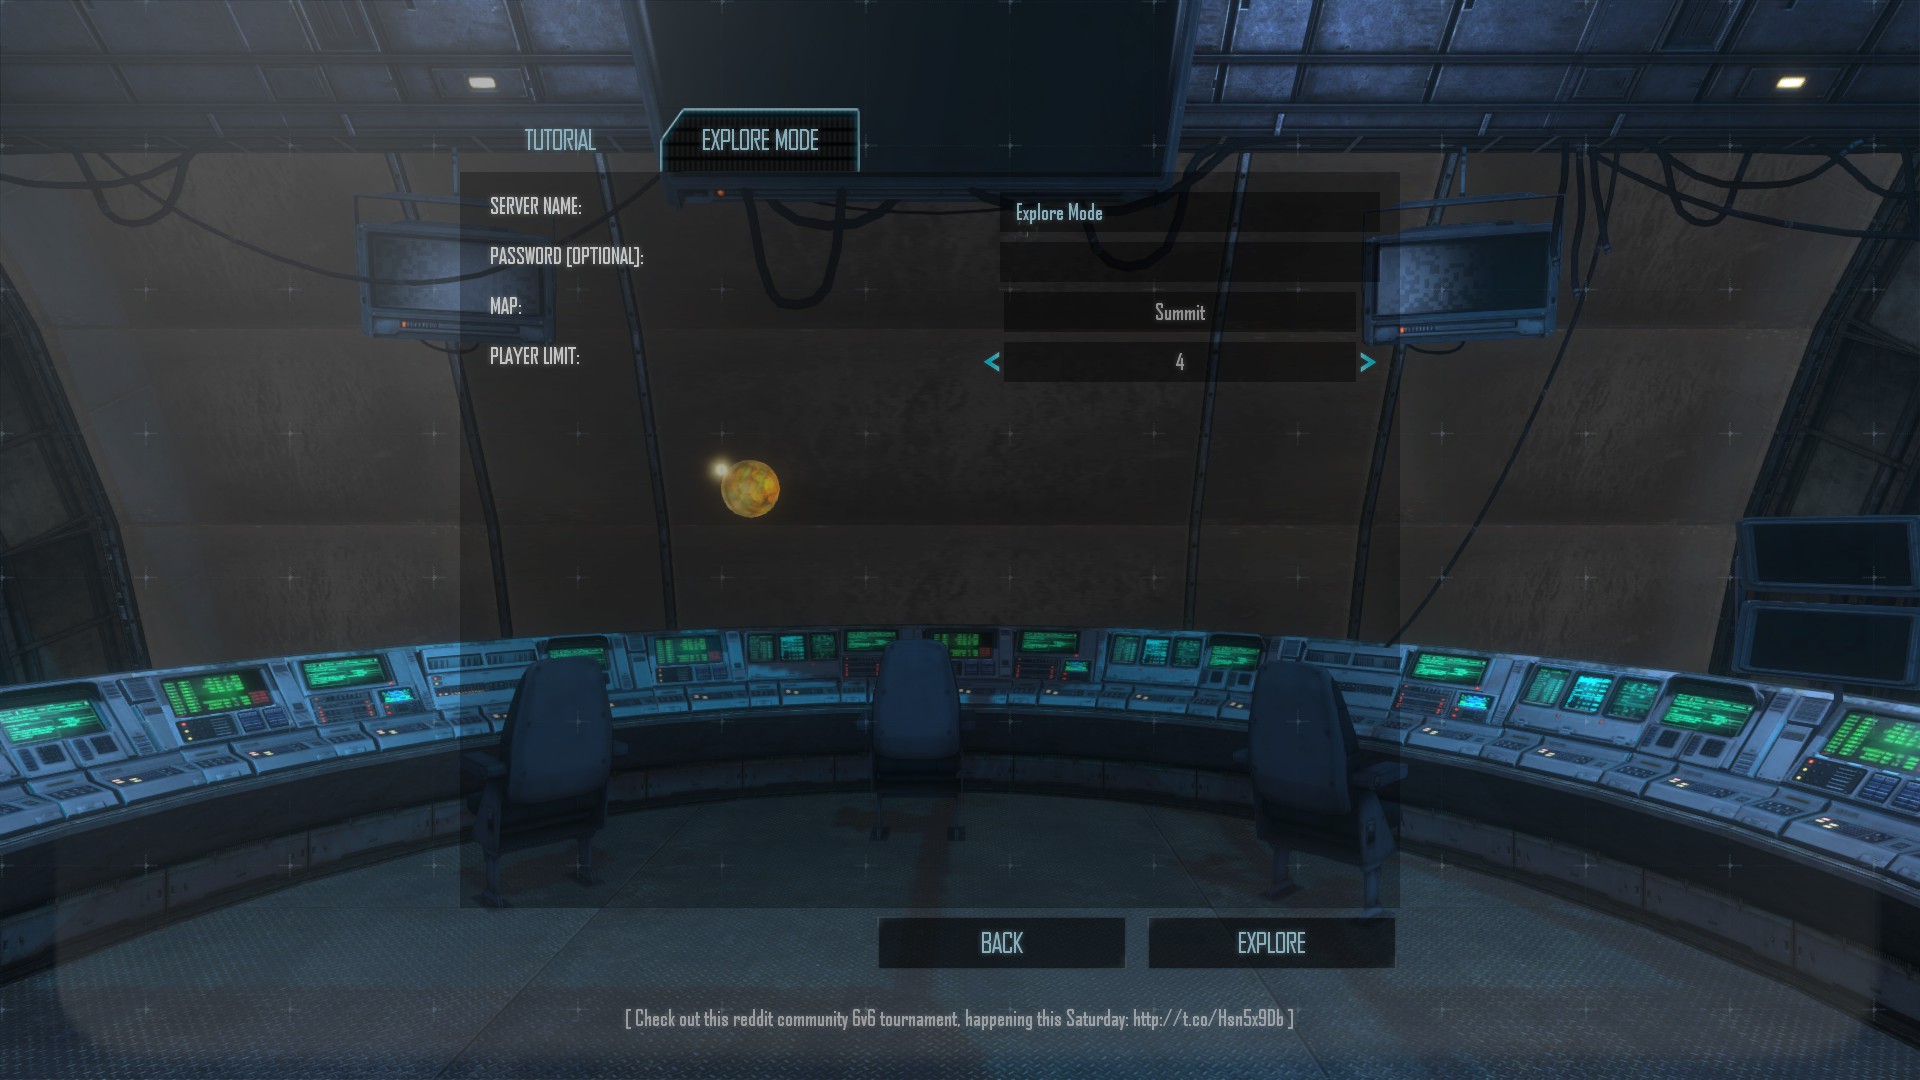
Before we start, I do recommended starting a server in ‘Explore mode’, and testing out the commanding interface without the stress of a live game.
So. On to the guide.
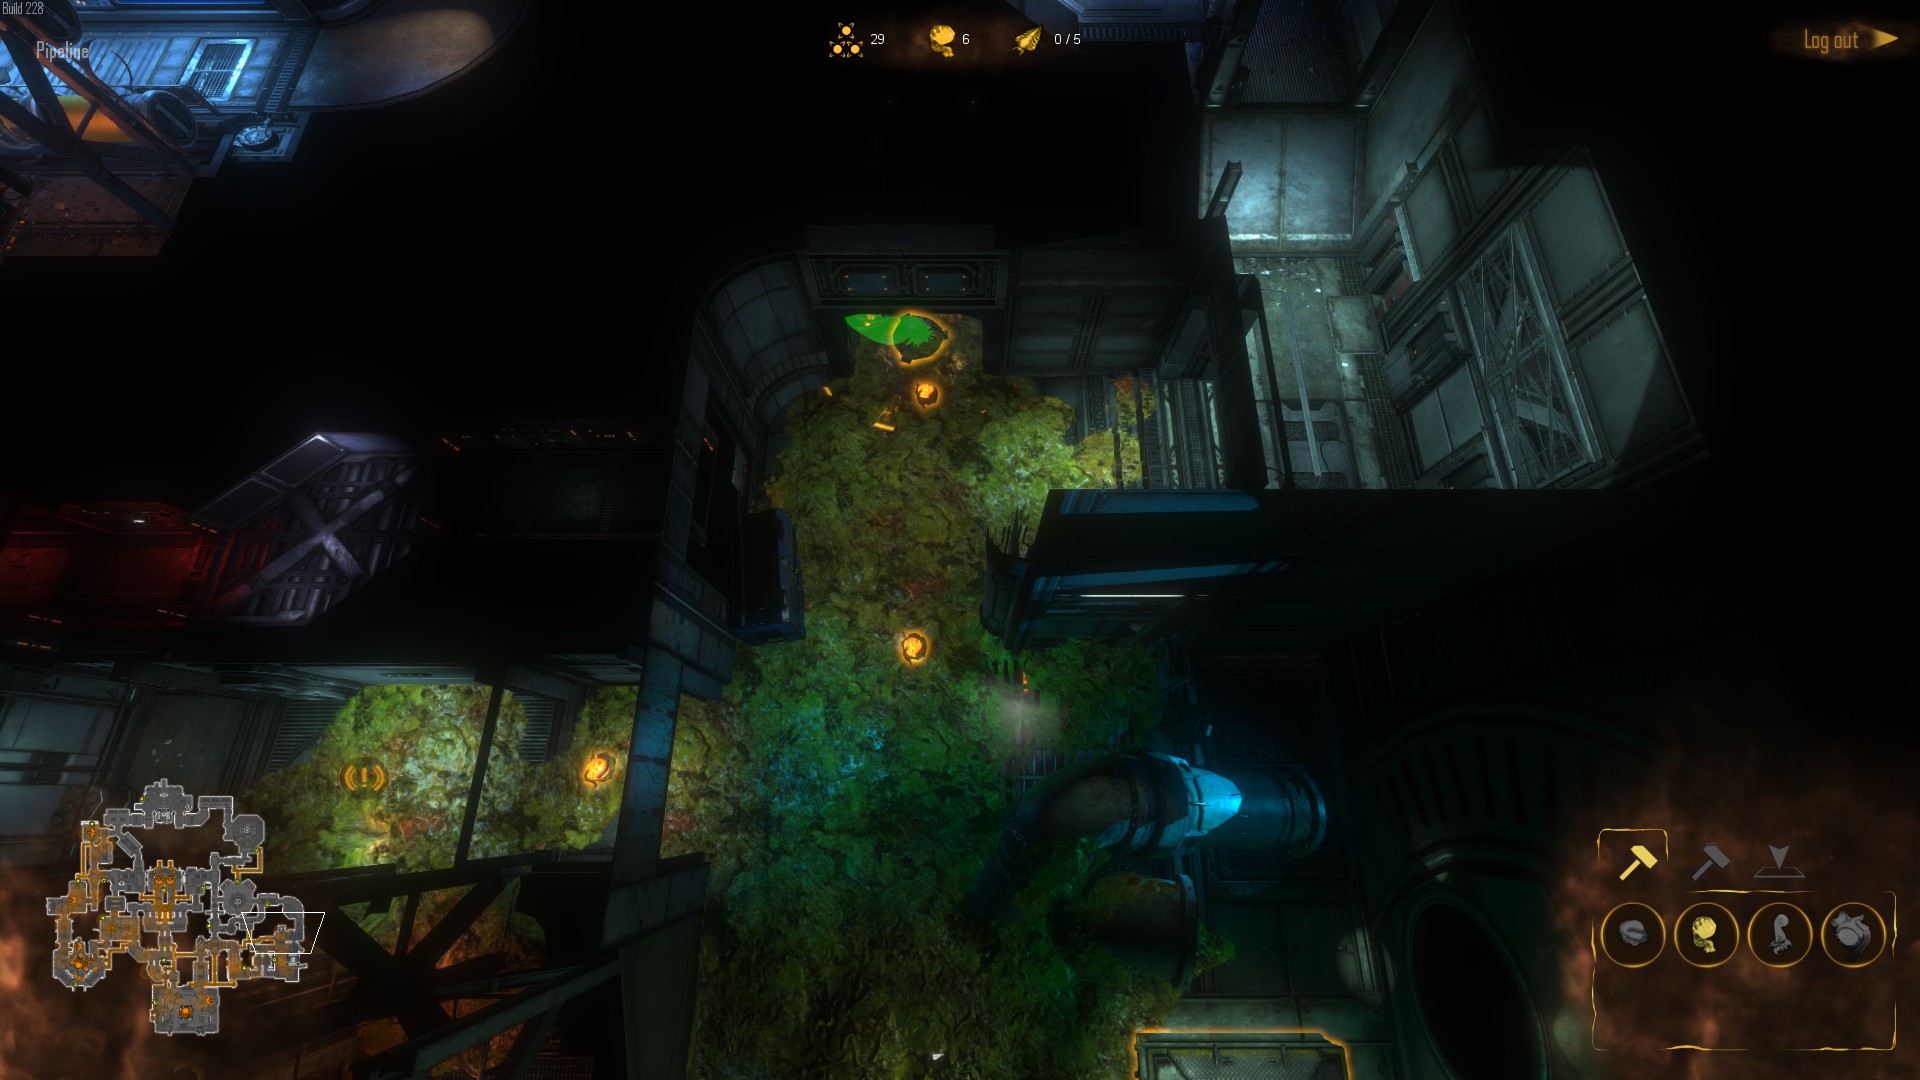
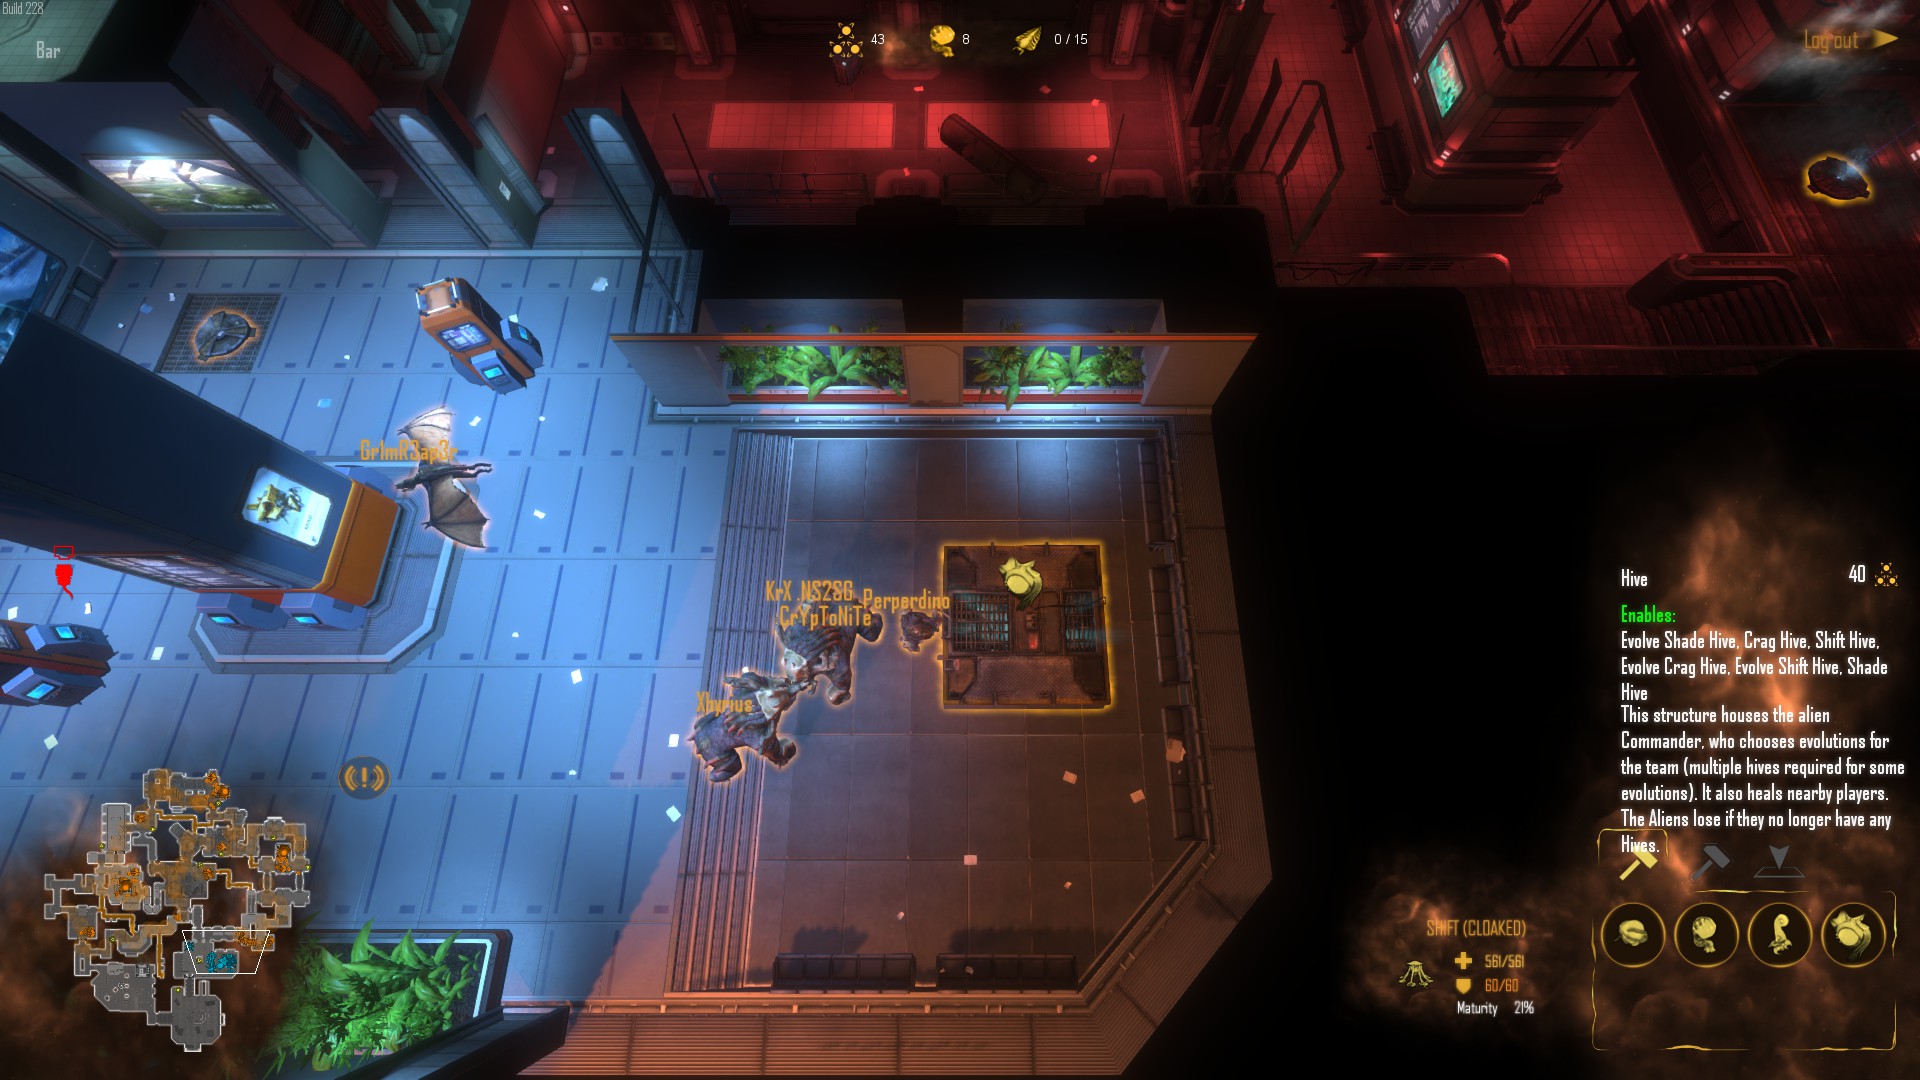
The first thing you’ll want to do when you hop into the Alien com chair is expand to a couple resource nodes. To expand your base, you’ll need to build a network of ‘cysts,’ that will slowly spread infection on the ground and allow you to place buildings. Anyone familiar with Starcraft’s ‘creep’ system for their Zerg race will understand.
Have a quick look around the map, and try and find the closest possible hive location. Possible hive locations are marked with a big yellow square on the map. This is a great place to expand to, as these rooms usually have a resource node in them, and securing the room ensures you’ll be able to get that all-important second hive up when you’re ready.
After placing the resource tower in this room, have a look for the next closest node. Usually, there should be a single node somewhere close to your base. Expand to that and nab it.With three nodes you should be able to get a steady stream of income. Getting too greedy and going for 4 can be a viable strategy, but generally this early in the game it’s best to stick with three and then work on upgrades for your team. If you notice your team has fairly dominant control of an area with a res node in it, be sure to expand there.
Next, you’ll want to look at upgrading your main hive. There are three types of hive you can upgrade to: Shade, Crag, and Shift. For the first hive, I would really recommend Shade or Shift. Shade hives allow you to research cloaking, which really helps with skulks that prefer to ambush. Shift hives allow you to research celerity, which increases movement speed and really helps with skulks that prefer to rush. Ask your team which they prefer.
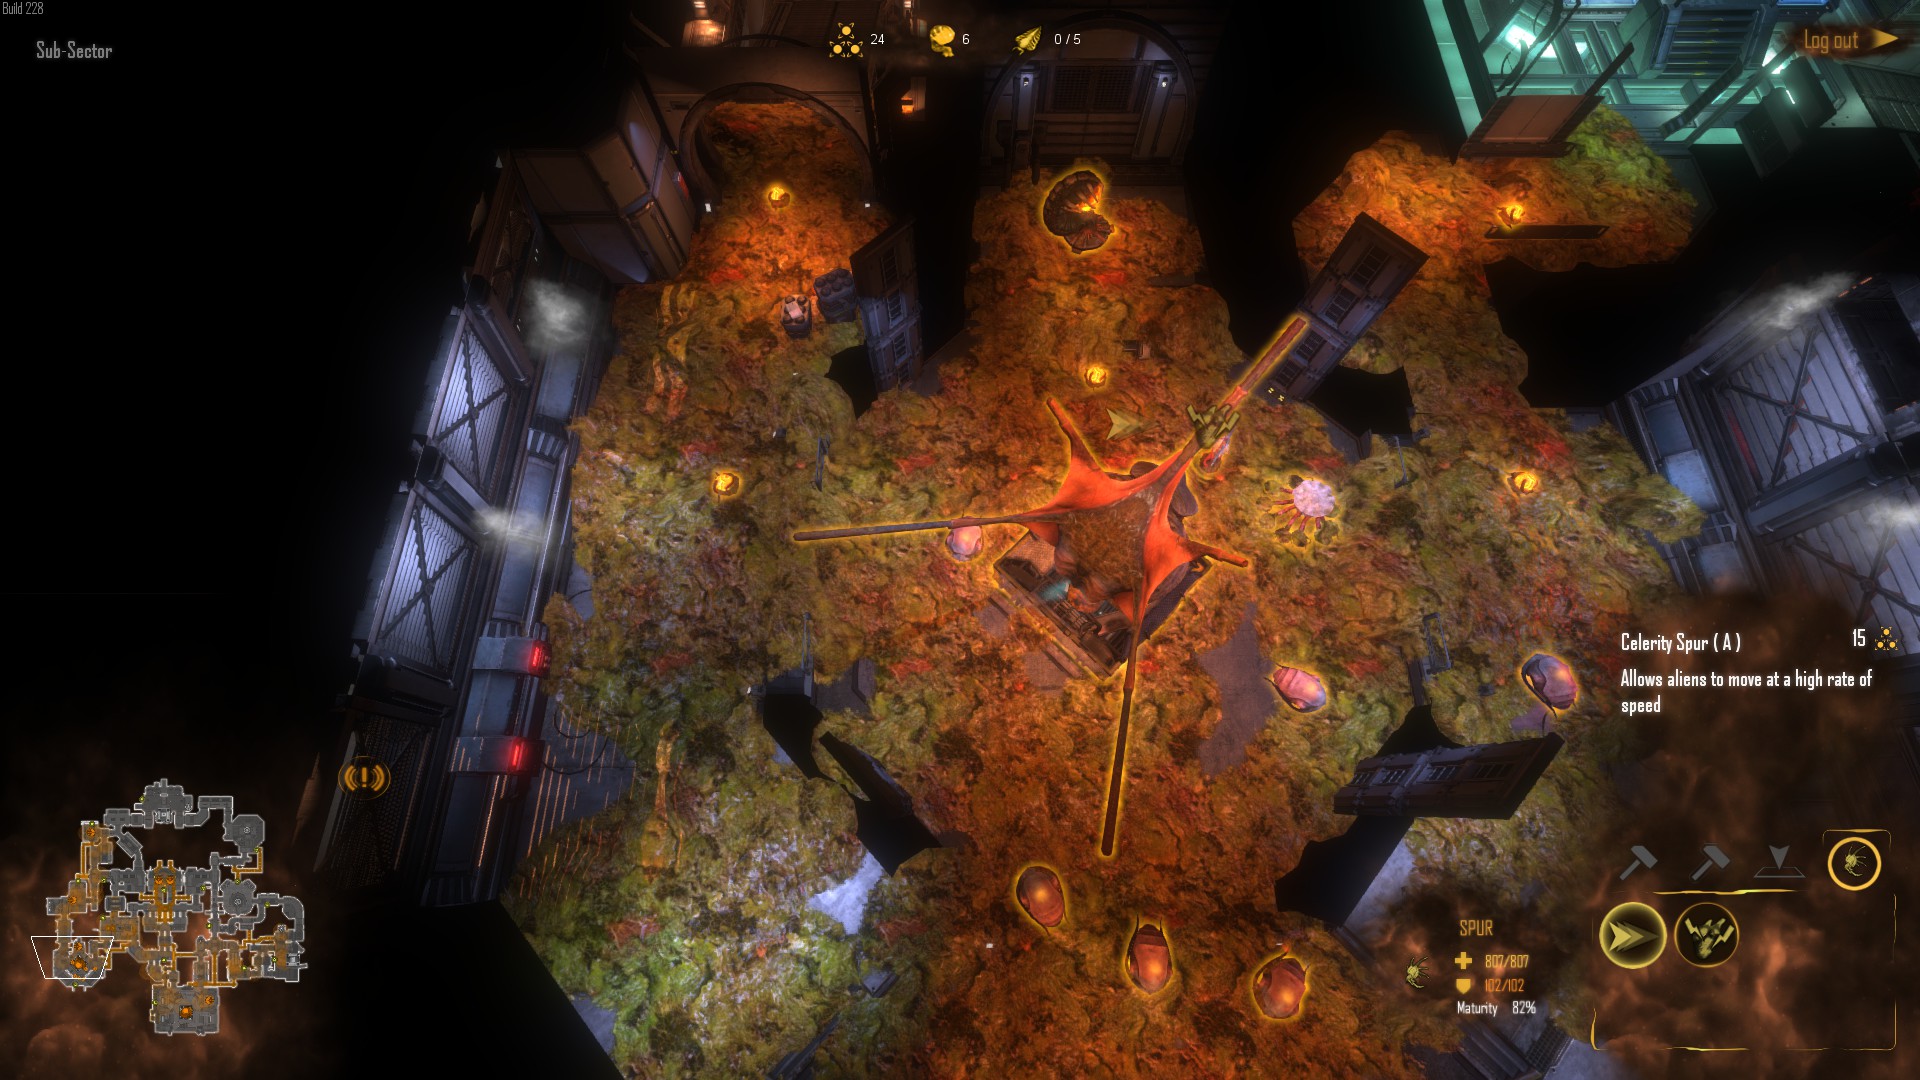
For the sake of this guide, let’s say you go with the shift hive. After upgrading, you’ll be able to build a shift and a spur. Build both at your main base. At the spur, you can research celerity. Your skulks will love you for it.
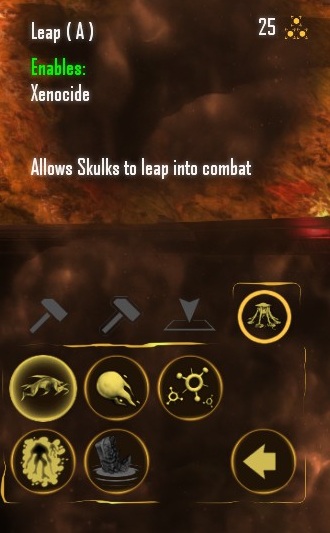
Your next order of business is to save up for a second hive. Having a second hive allows you to research special abilities for your teammates, for example, leap for skulks, bile bomb for gorges, blink for fades. Once the hive is built, upgrade it to either shift or fade, whichever one you didn’t build before.

Now, you can click on your hive and research new abilities for your teammates. The first thing you should get in almost every game is leap. Skulks are your basic foot soldiers that every respawning player will spawn as, and having leap gives them a great movement and escape tool.
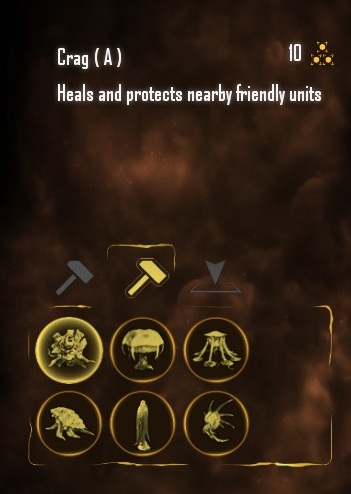
Make sure you research camouflage by building a veil, and from then on in, it’s all up to you. Communicate with your team: ask them what upgrades they want, tell them where you want to expand to, and make sure you alert them of enemy movements. Build whips at your bases and expansions to combat nade-spam and offer a bit of extra defence Try to build them around corners as they have a fairly small melee range. Build shifts and hatch eggs at them to make forward siegeing positions. Once you get a crag hive, be sure to drop crags in good locations for your troops to heal at.
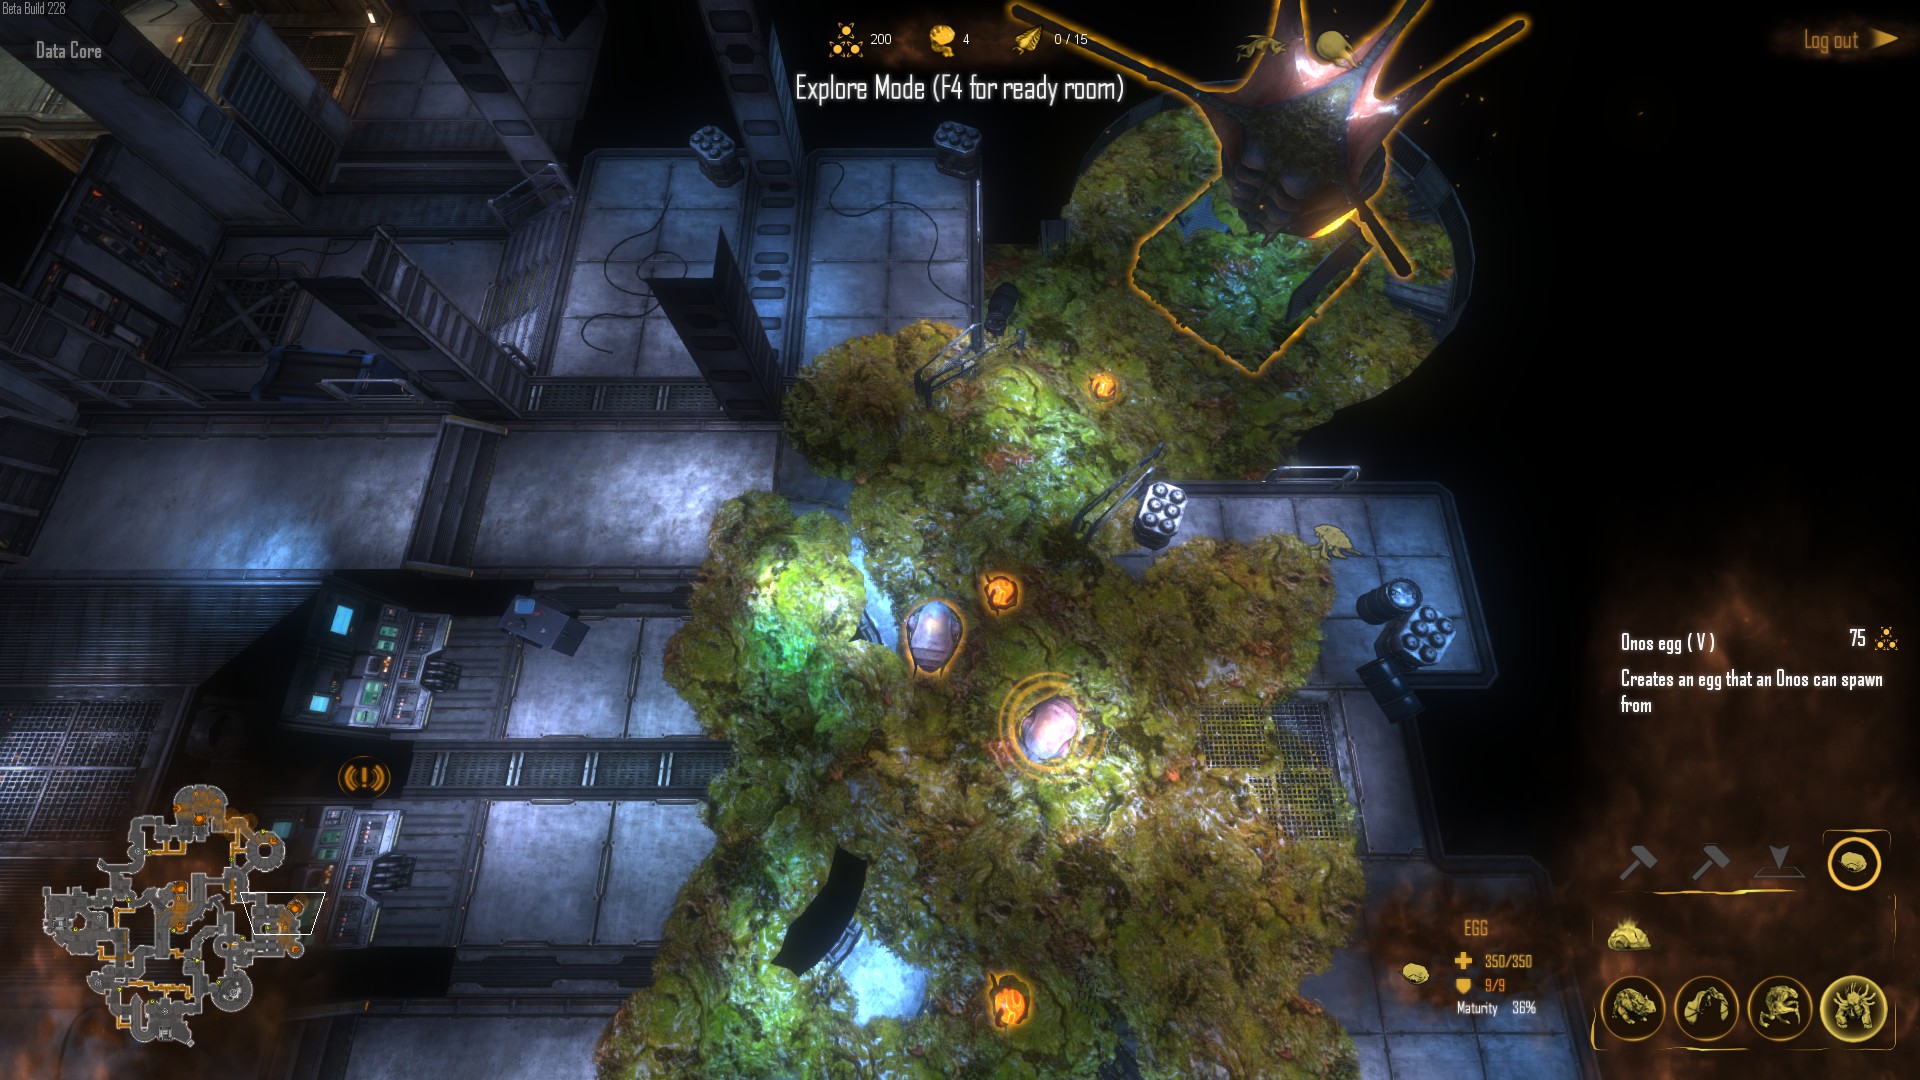
Lastly, you can spawn eggs that have evolutions attached to them. This is particularly useful in the end game, when you may have an abundance of team res, yet your allies will have a low amount of personal res. You can spawn onos, fade, lerk, or gorge eggs that allies can then use to upgrade to these evolutions for free.
Obviously, there are a lot more advanced tactics, particularly a few that use the ‘special’ abilities of the secondary buildings, but these tactics should get you through your average game.
Natural Selection 2 is available through the Steam store or through GameFanShop. If you liked Steve’s article be sure to check out his “Natural Selection 2 impressions!“
Crag hive first is better. Carapace vs shotguns. Get celerity after that.
You don’t need cysts to second hive, just drop it. Saves you res.
Use shifts for dropping eggs somewhere close to marine bases for better attacks.
After you have a third hive save res for onos eggs. Don’t waste it on upgrades like skulk suicide or fade vortex. Just spam onos eggs and send gorges to heal the oni in fights. Bilebomb, blink and leap are the most important upgrades, followed by spore. Umbra should be optional and is kind of luxury. If you don’t have lerks, don’t waste res on their upgrades. Dropping onos eggs is the most important thing and the easiest way to win. Remind them to focus down the marine base power node first.
Shift hive is a very good starter hive, Celerity is very underestimated, and sometimes it’s better to camp the IPs in a base before taking out the power node, you can kill spawning marines and lock down their spawns that way.
[…] out my Natural Selection 2 Alien Lifeforms Guide, my Alien Commander Guide, and my impressions of the game. Buy Natural Selection 2 from GameFanShop for $25.99 […]
Thanks for this nice little guiide. I would suggest a crag hive after your first one to immediately start researching carapace.
But dont get me wrong, camoflage and also silence can be very powerful if your teammates can use them. But often you will get flamed for building shade first so be prepared to suffer :D.
Alien commander seems a little bit easier than marine. But might just be my impression.
[…] I have uploaded two reviews to the site and I have noticed several things. First off it was an excellent way to get reacquainted with the finer parts of using WordPress and though I had forgotten much of it it was easy enough to get back into the swing of things. I feel that making a webpage will be much easier and more enjoyable than formatting files in Indesign to make a magazine. The site, while only having started, already looks very impressive and I suppose we can thank Leigh for finding and setting up the format so quickly. These are the image links for the two reviews I have done so far: Cabin in the woods image link Natural Selection 2 image link […]
[…] Image Source […]
How do you spawn regular eggs in the begining if you are “Egg Locked”?
[…] their dream a reality. The brawler plays like a combination between Team Fortress 2, Pokemon and Natural Selection 2 with players choosing what food to consume and pathways to evolve […]
[…] store or through GameFanShop. If you liked Steve’s article be sure to check out his “Natural Selection 2 – Alien Commander guide” and his “Natural Selection […]