

How to manage a guild in Lost Ark? How to organise weekly quests? How to level up your guild? That and more in this Beginner’s Guide. It also contains tips for everyone who wishes to run a successful guild or clan in Lost Ark.
If you want to start and run your own guild (clan) in Lost Ark you need to know how to create it, how to level it up and how to get more experience from your members. I will try to keep it simple and highlight the most important aspects of the guild creation and what to do when you get new recruits. How to get over the limit of 30 members at level 1 and start building and researching everything the game offers. And if you are just looking for some other guilds on your server you can use either the in-game search or visit the official forum.
How to create a Guild in Lost Ark?
- After the tutorial, you will make your way into the first city of Prideholm. Just walk out of the cathedral and talk to the first NPC you meet. That will open the option to create a guild so it’s just a matter of a few minutes. However if it is your first character you need 2000 silver for the creation. It’s not a big deal. Just talk to the next NPC and get a mount. After you finish this quest you should have two challenges completed in the Welcome challenge menu (next to the minimap at the top right corner). Simply claim those rewards and you will immediately get 2000 silver.
- Click the Community tab located at the bottom right corner of your screen.
- Click the Guild option (alt + U) and select Create tab in the next window.
- Choose your guild name. The name is cross-server, therefore, the same name cannot be used on a different server.
- Type a short description that applicants will see when searching for guilds. The profanity filter is aggressive, and the description field is very short and limited. Try your best.
- Hit the Create button. That’s it!

Create a guild
How to manage guild members in Lost Ark?
- Click the Guildmates tab at the top. At the bottom right corner, you can click and invite anybody to your guild. Anyone can search for your guild name and send an application.
- You can see who is online, what is their Item level, class, and if they have a stronghold (private island), etc.
- If you see the yellow N above their Nickname, it means they cannot accept guild tasks, be promoted, and join any guild activities for three days.
- If you right-click on anyone, you can see their character profile, set their guild position (there are only three possible ranks), invite them to a party, whisper to them, etc. and etc.
- If you need to kick a member, use the Ban option.
- You can have 1 Guild Deputy and 2 Officers. What are their rights?a) Guild Deputy’s Rights: Accept or Reject member applications; Choose GvG and GvE for the Guild; Use guild skills in GvG and GvE; Assign weekly guild quest; Kick members.
b) Officer’s Rights: Accept or Reject member applications; Use guild skills in GvG and GvE.

Options for member

Levelling Up your Guild in Lost Ark
You need to level up your guild to be able to get more members. Every level adds 2 positions. And as you can see in the image below, you get pretty nice upgrades – more weekly tasks, guild shop and other buildings, and research. At the beginning, when you get your friends into your guild and wish to level it up, the most important aspect is weekly quests or tasks.

Level Benefits
Weekly Tasks
There are several important conditions and rules which you must meet to be able to do weekly tasks. These conditions are not obvious.
- Tasks reset weekly, and the guild gets all the rewards that were received at that time.
- New members cannot complete tasks for three days.
- At first, if you finish level one task, then you cannot continue until next week. For example, if you finish “Try logging” and have 20 points, then you must wait.
- Even if your members can see “Accept” for weekly tasks and could try to set them for the whole guild, they do not have the rights to do so. No need to worry about it.
- At the beginning, you can choose only one task. Choose it wisely. If you make a mistake, then just wait for the reset and choose a new one. In general, the best way to start is to select something from trade skills since trade-skills tasks are very easy to finish.

Weekly tasks
Guild leaders will likely be asked questions such as “Why can’t I get the seeds from trees on the Try Logging quest?”, or “How to accept weekly quests?”, or “How to activate and finish them?”
To be able to work on the weekly quests and to accept them, you must be level 50 and must visit the city of Vern. It’s the fourth island/continent you visit on your game quest journey. When you get there, talk with several NPCs and do the story quests. When you open the possibility to do daily quests called Una’s tasks (alt + J), only then you will be able to accept guild quests and participate in them. After you accept Una’s tasks, you will see it as another regular quest in the quest window and in your journal.

UNA’s quest
For example, for the mentioned “Try logging” quest, you need to go and chop down 15 trees. That’s it. Simple. After that, claim the reward for the quest, and your guild will get 6 out of 20 points on level one.
You can again go to UNA’s tasks, accept the quest again and repeat it. To finish “Try logging” quest, you need to cut down 60 trees to get all 20 points. It can be done by you or by anybody else who can do UNA’s tasks and is not a new member of the clan. In the future, you will be able to have more quests at the same time and will be able to finish more levels. But that is not possible until you research the required projects.
Research
For sure, you would like to build something for your clan members. For that, you can use research. The first thing you can research is a Guild shop. To start the research, you must pay 6940 Bloodstones.
Every day, members can donate 6000 silver to the clan. This donation generates 50 Bloodstones which you can use as currency. For research availability, it’s vital to have daily silver donations. Don’t ask for gold. Gold is used on the market and is likely not worth spending on the guild. But of course, if you’re doing alright, it’s up to you.

Research

Guild donation
Guild Management
In the Guild Management tab, you can accept or decline new applications, change your Flag, or even change the guild name. But that can be costly as you can see on the images below. You must pay 2900 royal crystals for it and 1000 crystals for 9.99 EUR (USD).
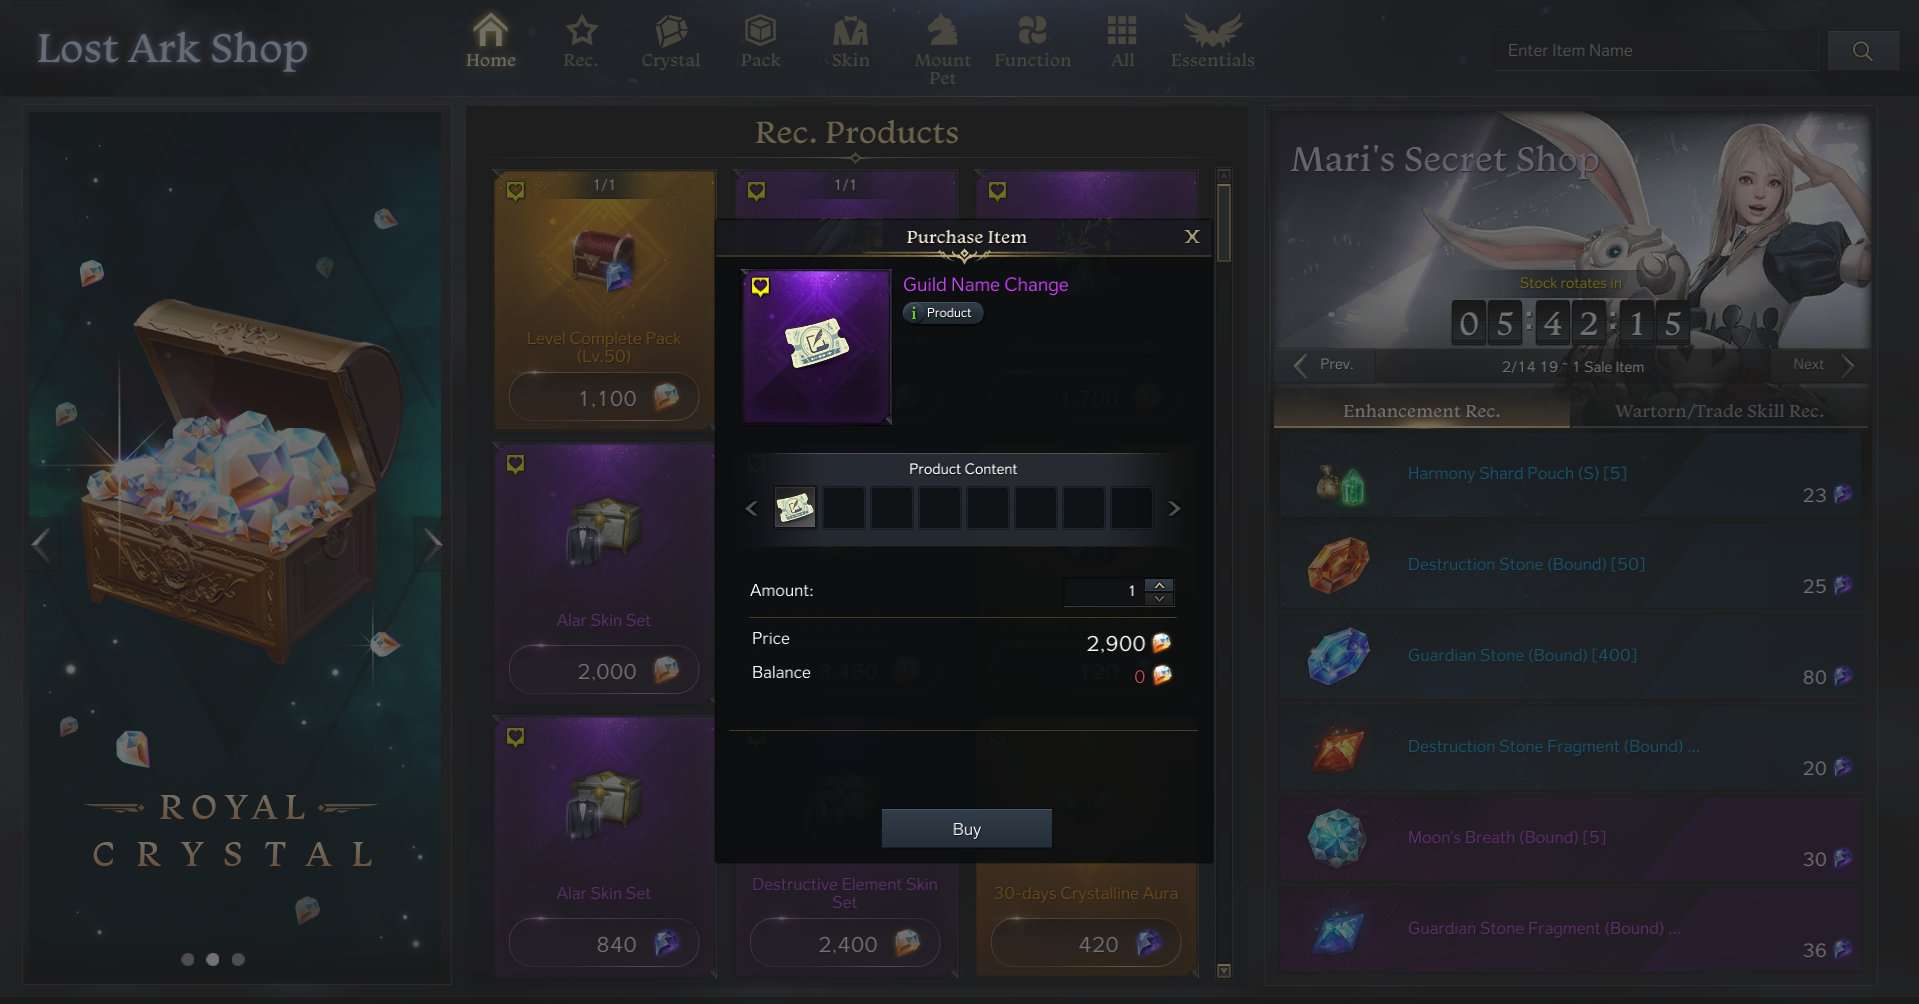
Guild name change

Royal Crystals Price
Join settings allows you to choose if players can join you automatically, after the approval, or simply by writing a password. The settings also allow you to set up the minimum item level, which is a nice feature to have.

Join settings
Bloodstones Distribution
To start your research as soon as possible, use the option to keep 100% of the bloodstones the guild receives. This is how the option works. If a member did not contribute at least 100 Bloodstones, the difference gets carried over to the next week. The goal is 1000. The distribution rate is 0% – this means everything goes to the guild. Later when you get more bloodstones, you can set the rate to 50% and the contribution goal to 500. Everything above the goal will be distributed to the members and to the guild with a 50% ratio. But this depends on your members activity and how much bloodstones the guild needs. If you want a simple setup, check it out below.
If you have a lot of members at the beginning do not set the distribution rate to 0%. It will limit the option to help with the research time after you level up. My recommendation is to set it to 80% for the guild and 20% for the members. You can verify the settings at the top right part of the screen. See on the image below.

Bloodstones distribution
After the first week
After you finish your first week you should hopefully level up your guild to level 2 and can choose what to research next. Guild shop takes 2 days and 6 hours to research and costs 6.940 Bloodstones. All the other projects are 14.133 Bloodstones and take 3 days and 6 hours to research. However every member can speed up the research by 20 minutes each day for 50 Bloodstones. See on the image below.
- Take a new weekly quest. I would take a battle task or a trade task. For example Try team deathmatch or again Try logging.
- Choose the appropriate research to provide a bonus for the quest. Either Weekly battle task bonus or Weekly trade skills task bonus.
- Adjust your Bloodstone distribution rate based on your experience and the number of members. You can try 70% guild and 30% members for the start. You can even increase the Contribution goal to 1000 or more.
- Tell your members to donate 6k silver each day as usual and to help with the research for 50 Bloodstones. However they must have some Bloodstones which won’t be the case if you set 100% for the guild.
- Enjoy the game and have fun with your friends and guild members ?
Level 1 projects to research
- Guild Shop – you can buy more items from the guild shop
- Research Slot – more projects to research at the same time
- Weekly Battle Task Bonus – increases the level of battle tasks and how many requests the guild can have
- Weekly Trade Skills Task Bonus – increases the level of tade skill tasks and how many requests the guild can have
- Weekly Sailing Tasks Bonus – increases the level of sailing tasks and how many requests the guild can have

Research lvl 1
There is much more to the guild system. There are also guild vs guild battles, raids, and other activities. But that is something you can find out for yourself later in the game, or I will write another guide which will focus more on those aspects of the guilds in Lost Ark.
I hope that this introduction, describing the most important aspects of the clans, will help you to plan your guild development better, and you will not be surprised by something not working as expected.